 |
In
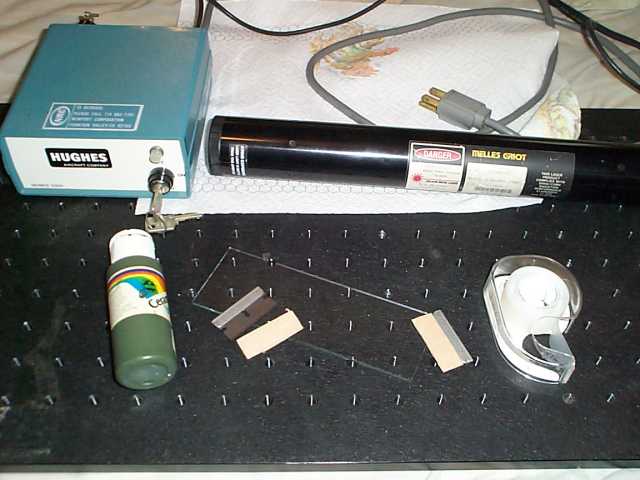
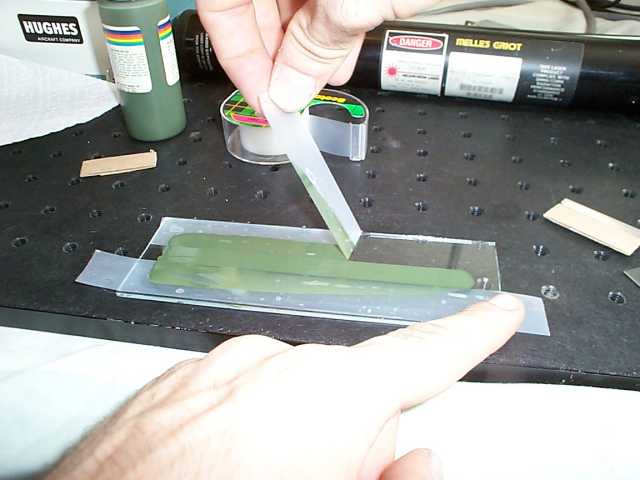
this first picture is everything needed to perform the two slit
demonstration:
A piece of window glass
- Two brand new razor blades
- Clear plastic tape
- Some water based acrylic paint.
Choose a color that absorbs the
color of your laser. In my case I chose some dark forest green since I
am using a red HeNe.
- Of course, a laser.
|
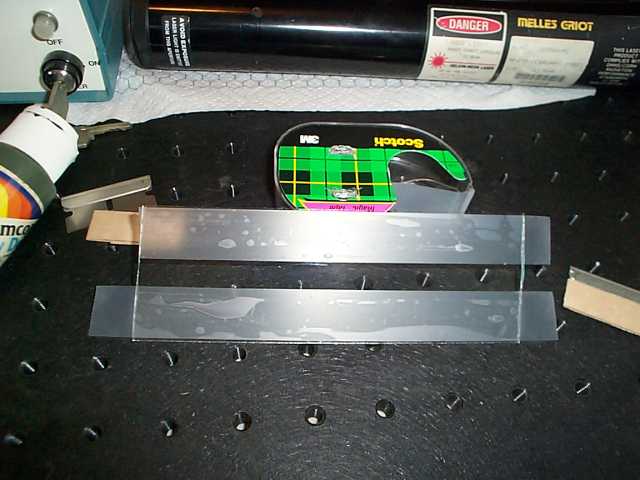 |
The
first step is to apply two parallel strips of tape to the clean glass,
leaving a band of glass uncovered. Rub your fingernail along the tape
to make sure there are no bubbles along the edges. The gap should not
be wider than your razor blades.
|
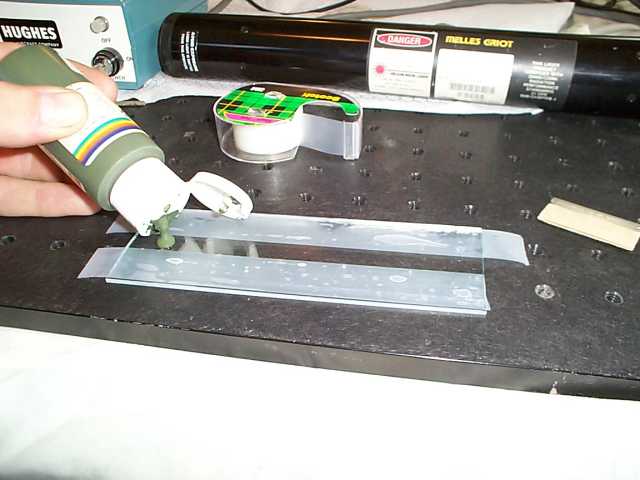 |
Apply
a good sized drop of paint towards one end of the bare strip. |
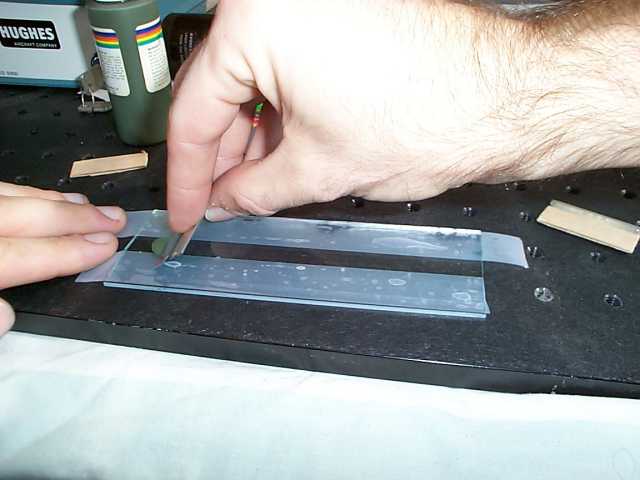 |
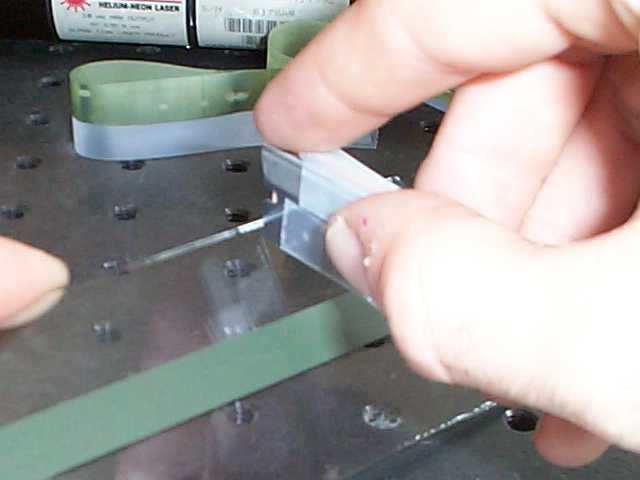
Take
a razor blade and spread the paint along the strip. The razor blade
should rest across the tape. This keeps the blade above the glass the
same thickness as the tape allowing you to spread a constant thickness
of paint along the strip. You may have to experiment with the amount of
paint and the amount of pressure so you get a nice smooth thin layer of
paint. You want the paint layer thin enough to score with the blades
yet thick enough to absorb the laser light. |
 |
Carefully
remove the tape and allow the paint to dry. The water based acrylic
craft paint I used dries in an hour or less. |
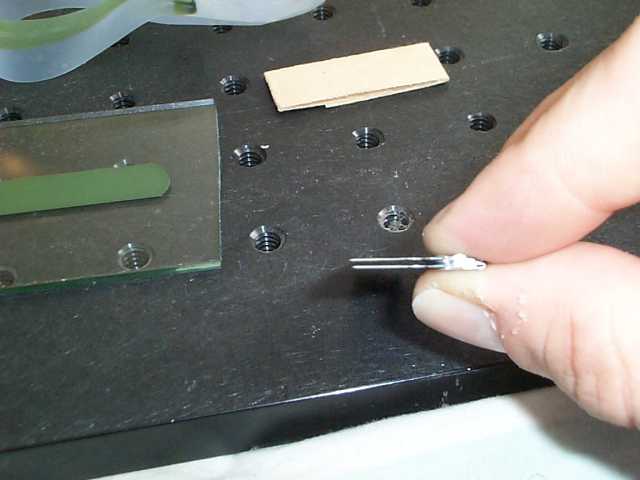 |
While
the paint is drying, stack the two blades together. Be sure to use
clean blades. |
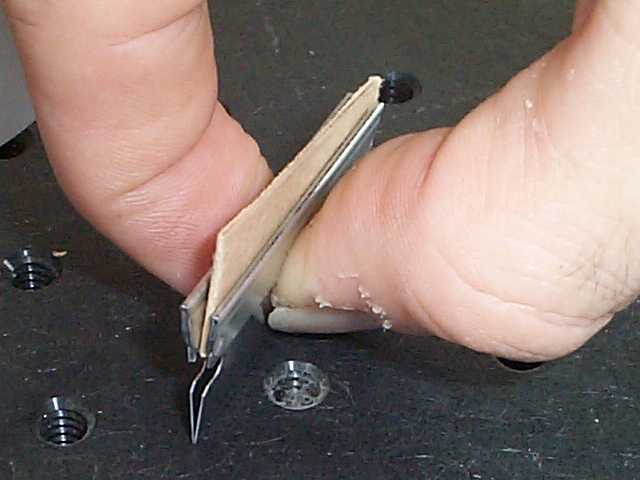 |
Use
some folded paper towards the back side of the blades to seperate them.
This forces the shapr edges of the blades closer together. To make sure
the blades are even place them against a hard surface to align them.
You may have to experiment with the amount of spacer material in order
to adjust the blade seperation to get the blades close enough together. |
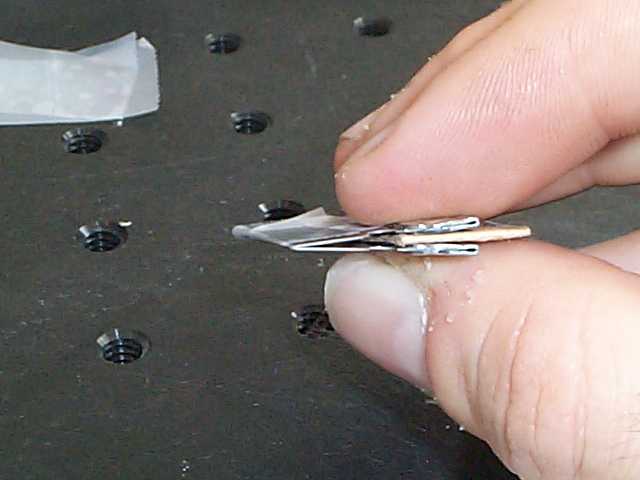 |
Tape
the blades together. Leave at least one corner uncovered as this is the
part that you use in the next step. You want the blades to be as close
together as possible but if you get them too close they wont score two
seperate lines in the paint but instead make one fatter line. |
 |
Use
the two parallel blades to score a pair of lines across the paint. Once
again you may have to experiment with how much pressure to use. You
should score with a brisk motion. You want to score two parallel lines
leaving a thin line of paint to seperate them. |
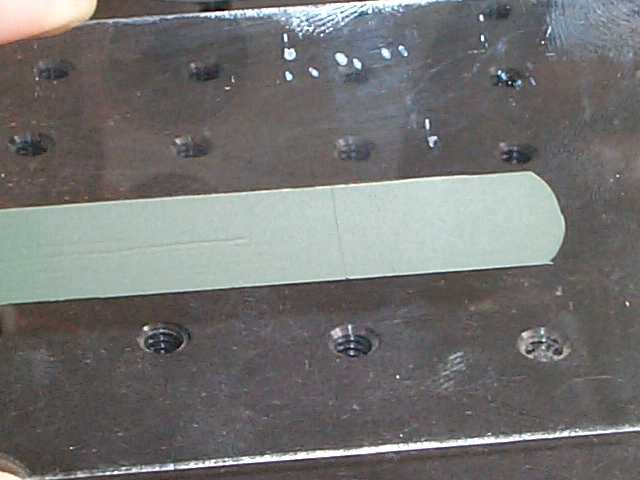 |
You
can see the scored lines in this picture but the resolution is too low
to see the seperate lines clearly. |
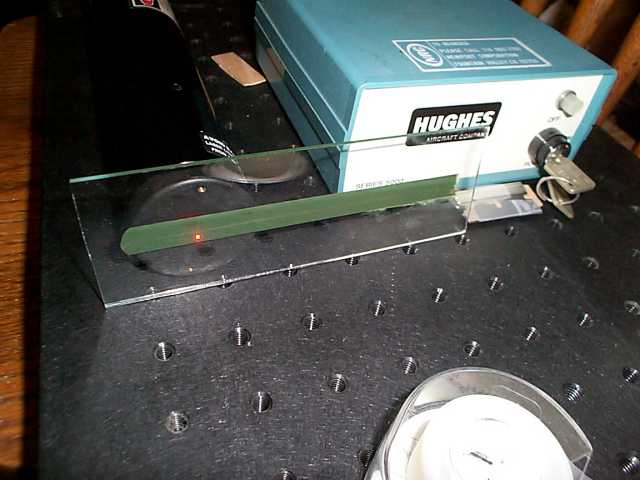 |
Set
up the paint strip in front of your laser. Adjust the postion of the
slide so you get the maximum amount of light through the slits. |
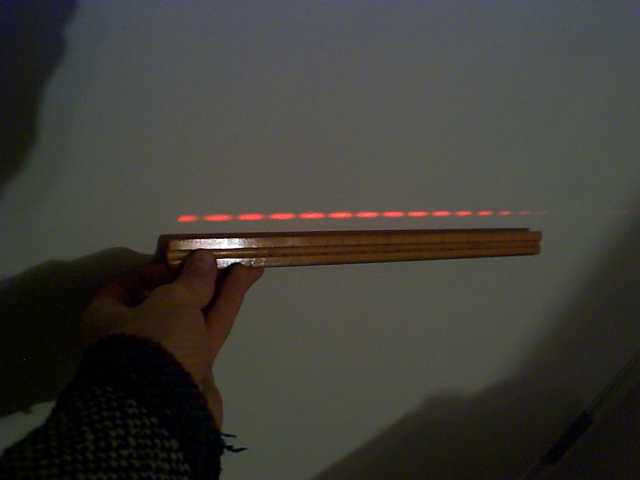 |
On
a far wall you should get an interference pattern. This image was taken
twelve feet from the slits with a one foot ruler for comparison. The
number and spacing of spots will vary depending on the quality and
spacing of the slits. |